

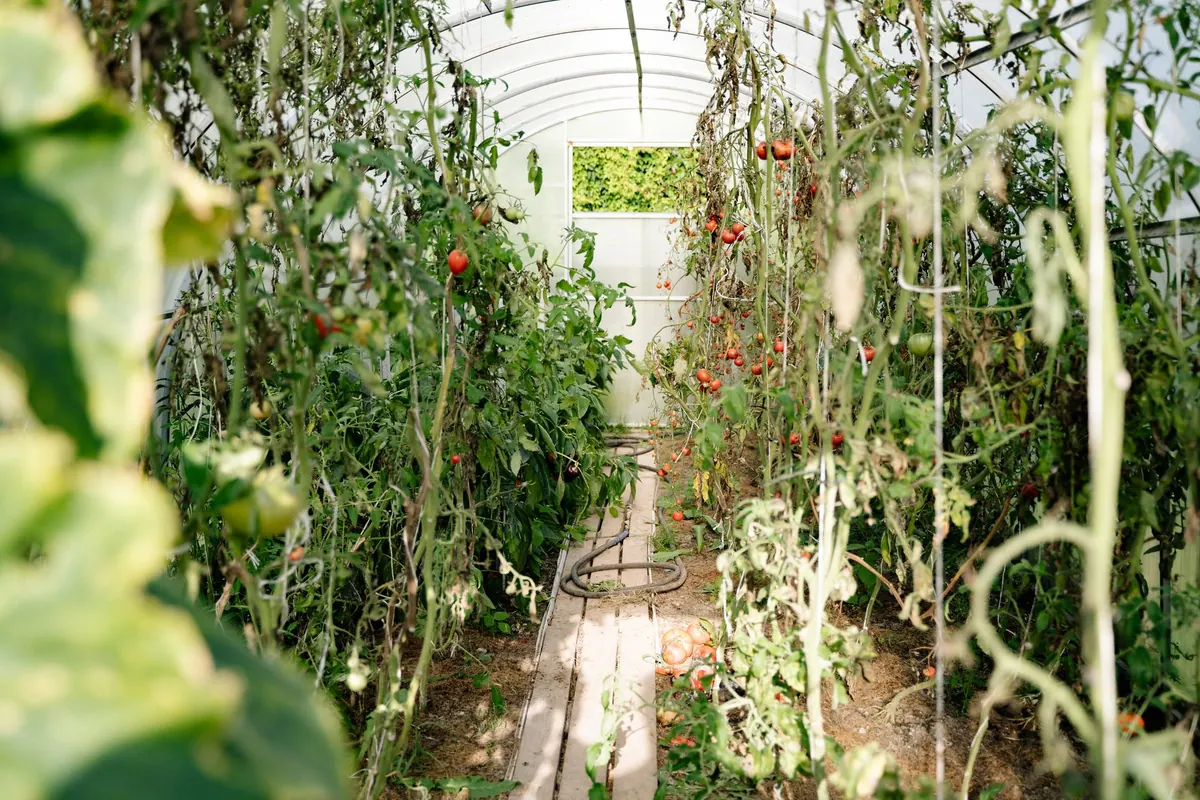
There are few things more satisfying than picking a sun-warmed tomato from your own greenhouse. The flavour is a world away from the pale, uniform specimens found in supermarkets. While tomatoes can be grown outdoors in the UK, a greenhouse transforms the process from a gamble with the weather into a reliable and rewarding summer project. It offers the warmth and protection these sun-loving plants crave, extending the season and guarding against blight. If you’re ready to give it a go, this guide will walk you through the essentials.
Choosing the Right Varieties for a UK Greenhouse
Before you sow a single seed, it’s worth thinking about what you want from your crop. The choice of variety is the single biggest factor in your success, and the options are vast. For a beginner, it’s best to start with reliable, well-known types.
The most important distinction is between cordon (indeterminate) and bush (determinate) varieties. Cordon tomatoes grow as a single tall stem, producing fruit all along it. They need support and regular attention but can crop for months. Bush varieties grow to a determined size and then stop, producing a more compact plant that’s easier to manage.
For a UK greenhouse, here are a few dependable choices:
- ‘Gardener’s Delight’: A classic cordon cherry tomato. It’s incredibly reliable, producing heavy crops of small, sweet fruit.
- ‘Shirley’: A popular cordon variety with medium-sized fruit. It’s known for its excellent flavour and good disease resistance.
- ‘Tumbling Tom’: A fantastic bush variety perfect for growing in pots or hanging baskets, ideal if space is tight.
- ‘Moneymaker’: A tried-and-tested cordon that has been a UK favourite for decades, valued for its consistent, good-sized tomatoes.
Don't be afraid to try a couple of different types in your first year to see what works best for you.
Sowing: From Seed to Seedling
Tomatoes need a long growing season, so you'll need to start them off early. Late February to mid-March is the ideal time to sow under cover. This gives the plants time to mature before the summer sun arrives.
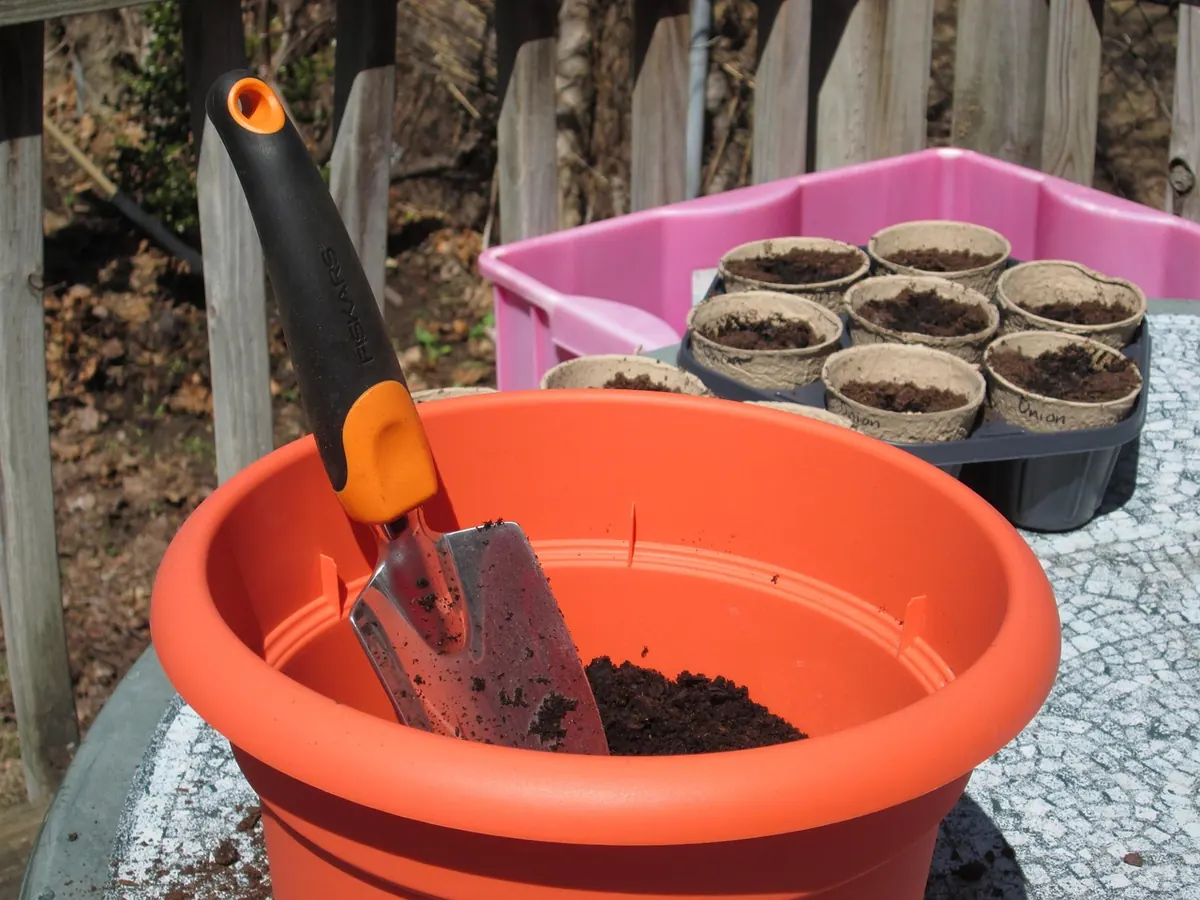
Fill a small pot or seed tray with a good-quality, peat-free seed compost. Moisten it first, then sow your seeds thinly on the surface, about 1-2cm apart. Cover them with a fine layer of compost or vermiculite—just enough to hide them from view. Tomato seeds need light to germinate, so don't bury them deeply.
Water gently, using a mister to avoid disturbing the seeds, and place the tray in a warm spot. A temperature of around 18-21°C is ideal. A propagator with a lid is perfect for this, as it keeps the humidity high. You should see signs of life in 7-14 days. As soon as the seedlings appear, remove the lid and move them to a bright, sunny spot, like a windowsill or a greenhouse shelf, to prevent them from becoming leggy. Turn the tray daily to encourage straight growth.
Pricking Out and Potting On
Once your seedlings have their first pair of true leaves—the second set to appear, which look like miniature versions of the adult plant's leaves—they are ready to be moved on. This is called pricking out.
Gently ease each seedling out of the compost, holding it by a leaf, not the delicate stem. Replant it into its own small pot (around 7-9cm) filled with multi-purpose compost, burying the stem up to the level of the seed leaves. Tomatoes are one of the few plants that will grow new roots from a buried stem, resulting in a stronger plant. Water them in well and keep them in a bright, frost-free place.
As the plant grows, you’ll need to move it into progressively larger pots. This is known as potting on. When roots start to show through the drainage holes at the bottom, it's time for a bigger home. You can move it to a slightly larger pot (around 12-15cm) and then finally to its permanent spot—a large pot of at least 30cm, a grow bag, or a border in the greenhouse soil. If using a grow bag or border, plant them about 45cm apart to allow for good airflow.
The Daily Routine: Watering and Feeding
Once your tomatoes are in their final position, your main jobs are watering and feeding. Getting these right is the key to a healthy, productive plant.
Consistent Watering is Key
Irregular watering is the cause of many common tomato problems. The goal is to keep the compost consistently moist, but not waterlogged. Check the soil daily by sticking your finger in up to the first knuckle. If it feels dry, it's time to water.
Water thoroughly, aiming directly at the base of the plant and avoiding the leaves. Wet foliage can encourage fungal diseases like blight. In hot weather, you may need to water twice a day. A simple trick is to sink a small pot next to your tomato plant and water into that; the water will go straight to the roots. As the fruit begins to ripen, you can slightly reduce watering, as this concentrates the flavour and helps prevent the fruit from splitting.
Feeding for a Bountiful Harvest
When the first tiny flower trusses appear, it's time to start feeding. The plant now needs more energy to produce fruit. Use a specialist tomato fertiliser, which is high in potassium (potash). This nutrient is essential for flower and fruit development.
Dilute the feed according to the bottle's instructions and apply it once a week, increasing to twice a week when the plant is in full production. You should also remove the side-shoots that grow between the main stem and the leaves on cordon varieties. This directs the plant's energy into fruit production rather than making unnecessary foliage. Simply snap them off with your fingers when they are small.
Troubleshooting Common Tomato Problems
Even with the best care, you may run into a few issues. Here are some of the most common problems and their causes.
- Blossom End Rot: This appears as a dark, sunken, leathery patch on the bottom of the fruit. It's not a disease but a sign of calcium deficiency, which is almost always caused by inconsistent watering. The plant can't take up the calcium it needs from the soil. The fix is to establish a regular, consistent watering routine.
- Fruit Splitting: This usually happens when a long dry spell is followed by heavy watering. The fruit swells too quickly and the skin splits. Keeping the soil evenly moist is the best prevention.
- Leggy Seedlings: If your seedlings are tall and spindly with pale leaves, they aren't getting enough light. Move them to a sunnier spot and turn them regularly.
- No Fruit Set: If your tomato plants are flowering but not producing fruit, it's often due to a lack of pollination or temperatures that are too high or too low. In a hot, still greenhouse, the pollen becomes sticky and doesn't move easily. Gently tapping the support or the flower trusses each day can help the pollen drop and pollinate the flowers. Also, ensure the greenhouse is well-ventilated.
- Yellowing Leaves: The oldest leaves at the bottom of the plant will naturally turn yellow and die back as the plant matures. Just remove them. If it's the newer leaves that are yellow, it could be a nutrient deficiency, so check your feeding regime.
Enjoying the Fruits of Your Labour
Growing tomatoes in a greenhouse is a process of small, consistent actions. Once you've got the rhythm—sowing, potting on, feeding, and watering—it becomes second nature. The routine of checking your plants each day is a peaceful and rewarding ritual in itself. You’ll learn from your successes and failures, and each season will bring new lessons.
Harvest your tomatoes as they ripen, and pick them while they are fully coloured for the best flavour. If you have a glut at the end of the season, green tomatoes can be ripened on a sunny windowsill or turned into chutney. There is nothing quite like the taste of a homegrown tomato, and with a little patience and care, you’ll have a greenhouse full of them.
Photo: Yan Krukau / Pexels